Huluween The Screamlands
Step right up. Come on down. Don’t just shout, it’s time to scream. Travelers beware, you’re in for a scare. Get ready to scream, it’s…
Step right up. Come on down. Don’t just shout, it’s time to scream. Travelers beware, you’re in for a scare. Get ready to scream, it’s HULUWEEN.
After working with Hulu on PrideFest, we were introduced to their new campaign — Huluween! As one of Hulu’s largest brand tentpole campaigns, we were tasked with introducing Huluween through an immersive and thrilling web experience. It is a celebration of fandom and love for spooky and scary TV during the most creative and expressive of holidays. In the spirit of the spooky season, Hulu invited us to explore the core creative motif and cathartic release of…screaming.
Drive In Concept
The Huluween campaign is a broad marketing campaign promoting Huluween’s horror-genre programming. As part of this, Hulu created a real-life spooky drive-in experience for Los Angeles residents. Attendees would drive through a haunted forest before parking their car and watching horror originals.
Given this was a physical drive-in experience only available to local Los Angeles residents, we wanted to extend this concept to digital to make it accessible to people all over the world.
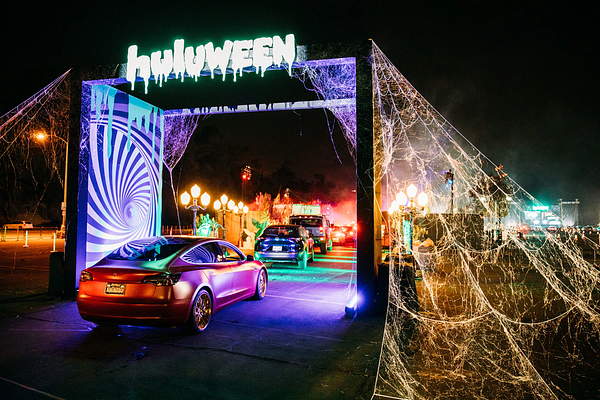
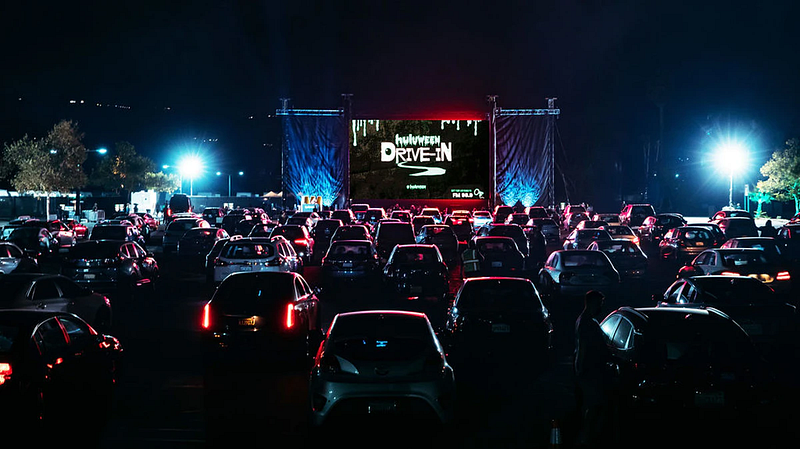
Hulu created a real-life spooky drive-in experience for Los Angeles residents
Enter the Screamlands..
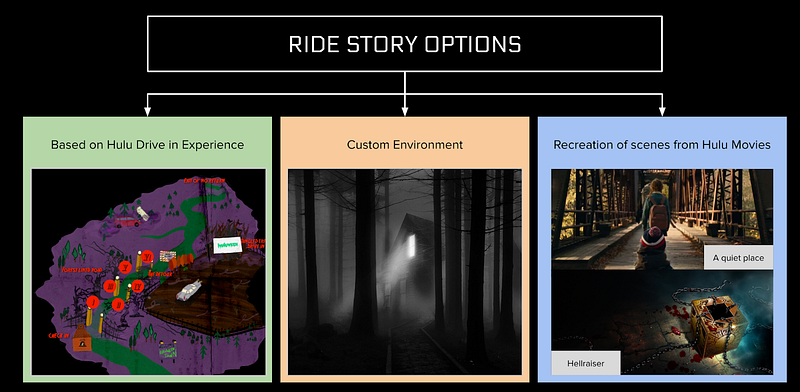
The concept we landed on would combine core elements of the drive-in experience with motifs from Hulu’s programming. This would involve taking users through a linear narrative flow (as one would experience the drive in) while transitioning between different environments based on Hulu content.
At its core, this experience was loosely based on a theme park ride. A narrator set the scene alongside music, and then users would go through each room scene-by-scene. We wanted the experience to seamlessly transition from one environment to the next — as fade to blacks would diminish the continuity of the ride.
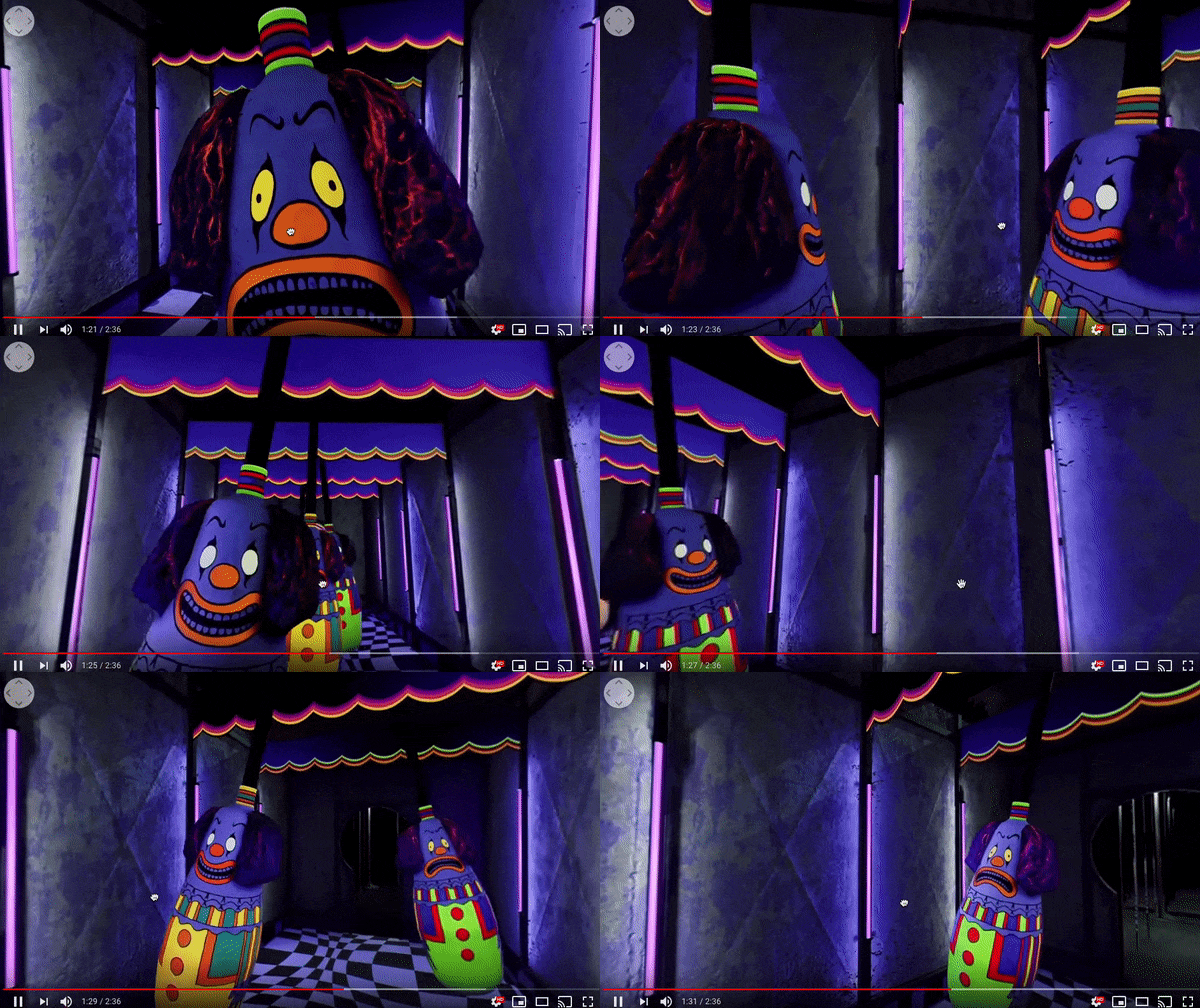
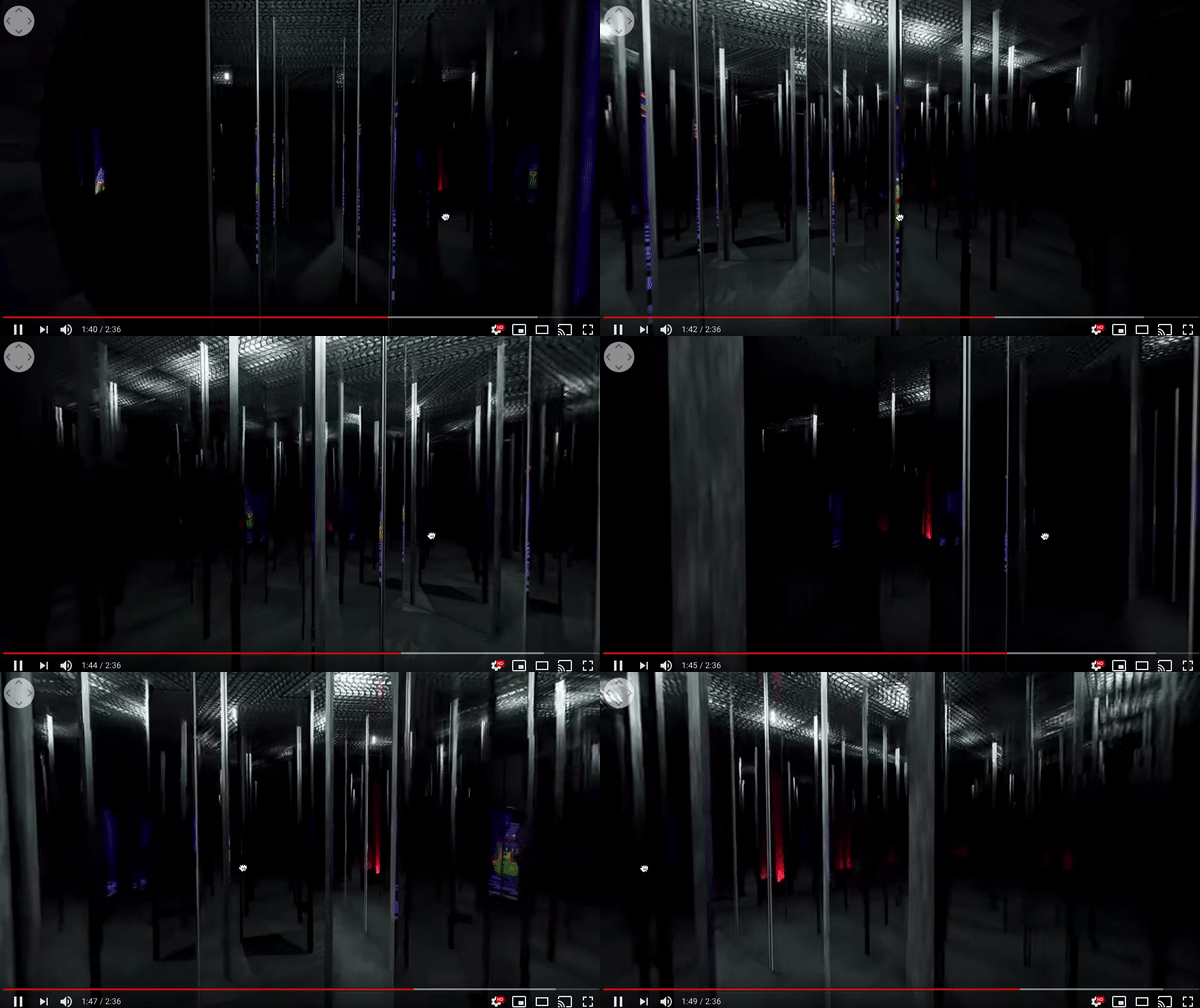
We wanted the experience to feel like a spooky theme park ride (Reference: IT Chapter 2 360 experience)
To make a Huluween experience (and not just a generic haunted ride), each environment was based on a different show. Each scene was storyboarded and eventually formed an animatic demonstrating the entire experience flow.
The Screamlands Story…
Introduction
The experience intro was based on Hulu’s overarching campaign theme. This was a throwback to a retro horror style, as users went down a whirling tunnel alongside a narrator and 80s music.
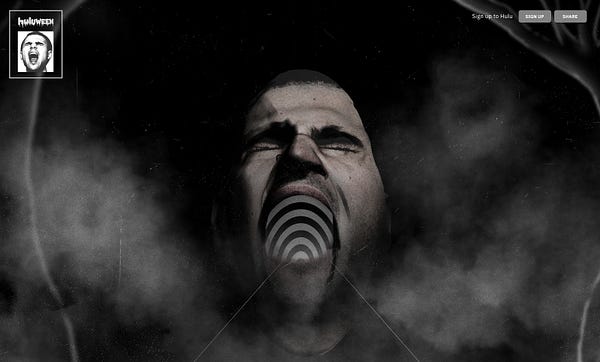
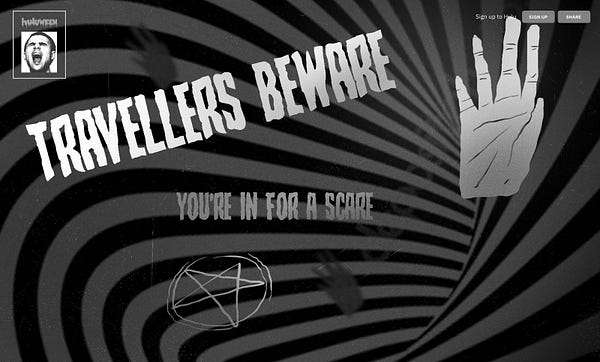
Early storyboards: introduction
Scene 1 — Neon Hallway
In the first scene, based on Bad Hair, a door slowly opens and reveals a hallway and a silhouette. In the movie (no spoilers, we promise) a woman struggles with a hair weave taking on a life of its own, and we tried to recreate this in the scene. As the movie takes place in the 80’s, we used visuals and sound based on this era, including neon lights and wooden elevator walls.
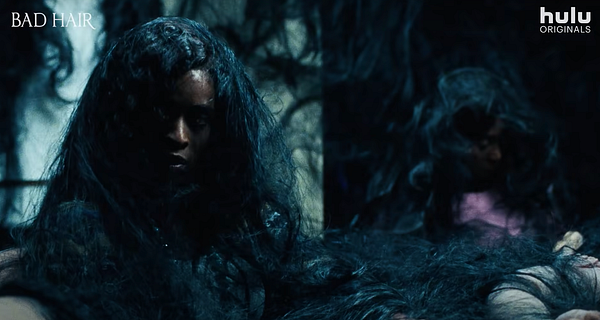
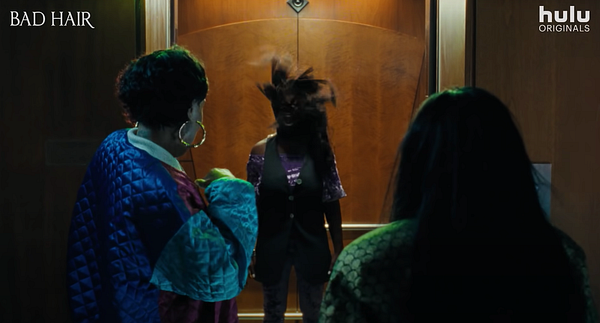
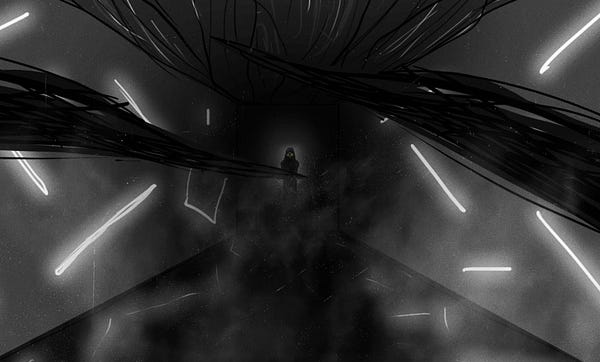
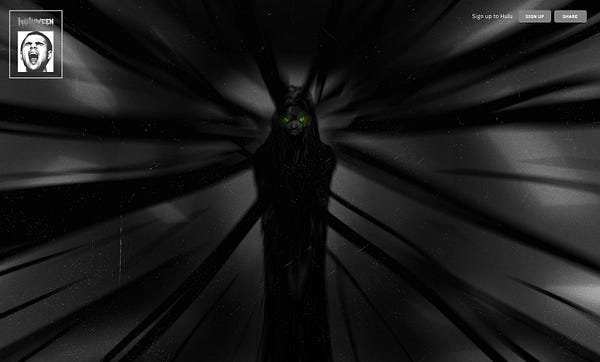
Bad Hair — trailer / storyboard
Scene 2 — Forest & Black Void
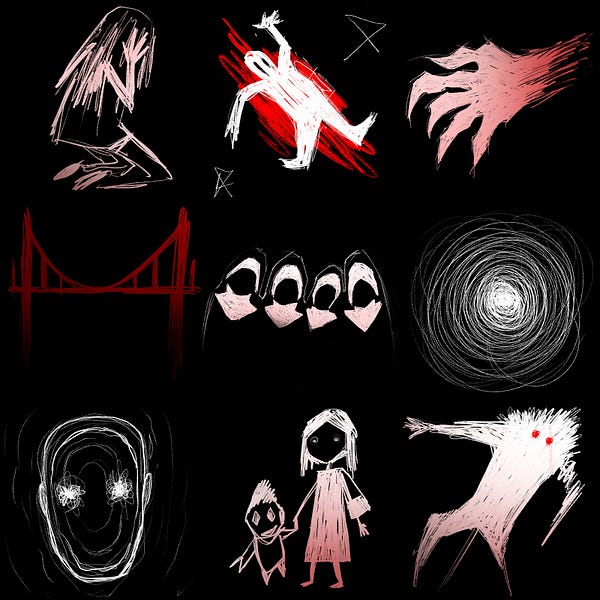
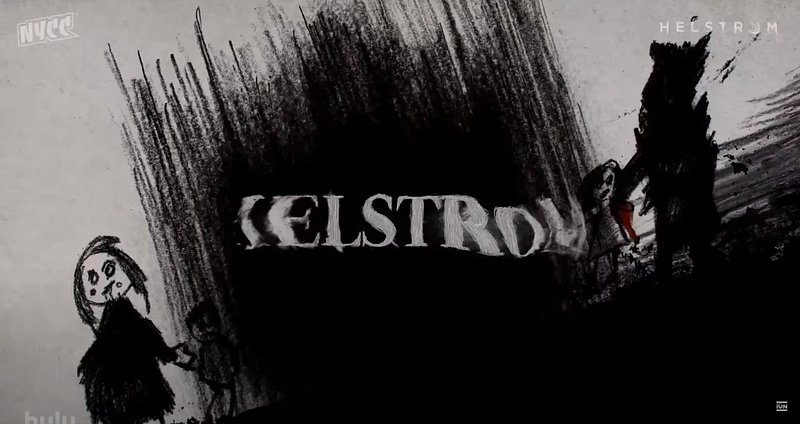
In scene 2, users are pulled into the woods — a creepy environment based in the Helstrom universe. In Helstrom, the two sibling protagonists hunt down terrors, and we equipped users with a flashlight in this scene to reference the character’s light.
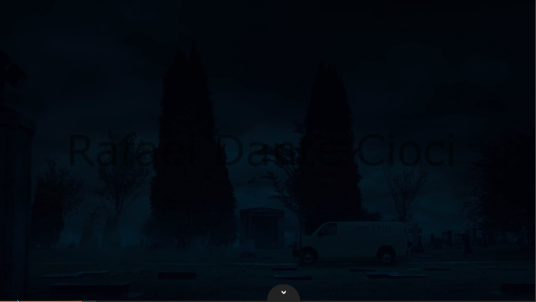
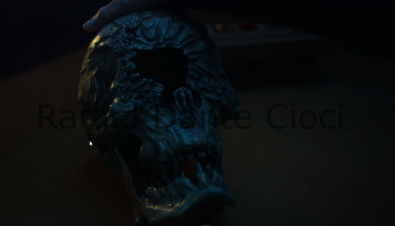
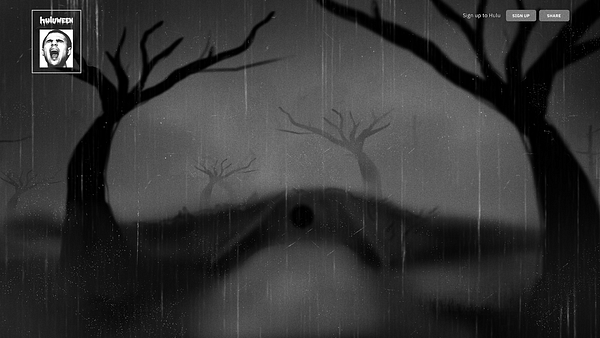
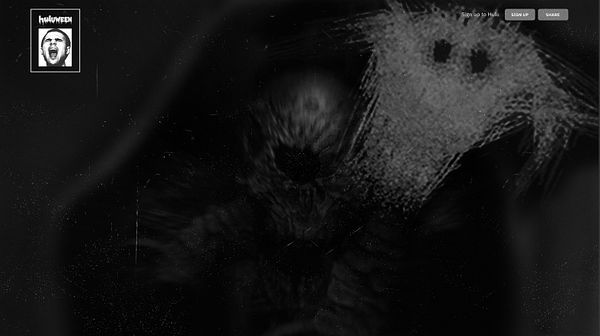
Helstrom — trailer / storyboard
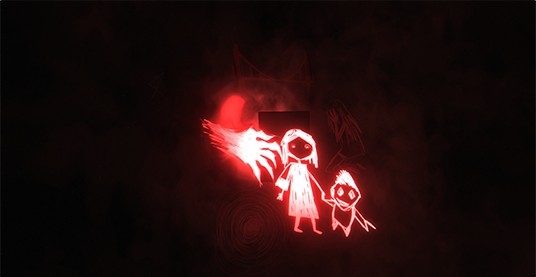
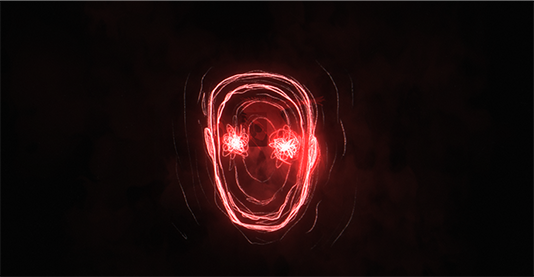
As the show’s one eye skull has special powers, we referenced this in the experience with users flying into the eye as part of their journey. We also recreated creepy illustrations from the opening sequence and integrated them into the flythrough.
Scene 3 — Portrait Room
The Portrait room is a hallway full of pictures, paintings and deadly weapons like knives and chainsaws. The art direction is based on a scene from the show Book of Blood. Screams and other creepy sounds come from the frames and also from inside of the walls, just like in the show.
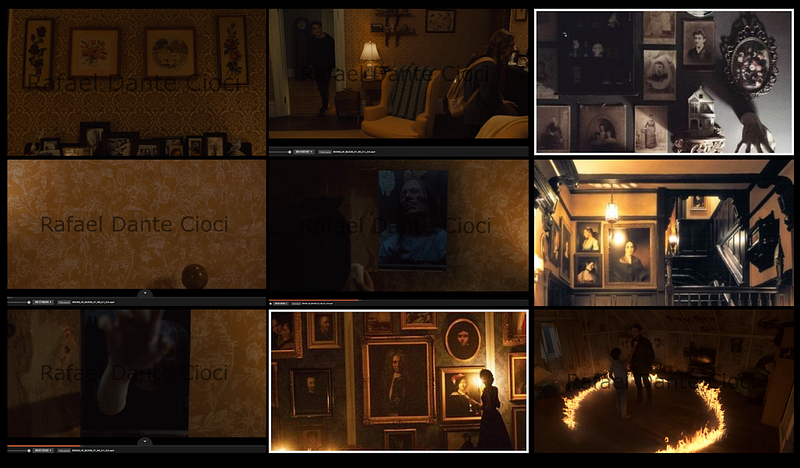
This portrait approach allowed us to place lots of different content inside the portraits — an opportunity to showcase other material from the Huluween program offering.
Scene 4 — Green Bathroom
This final scene alludes to Hulu’s branding, with green lighting illuminating a bathroom. The aesthetic is of a grungy, muddy, cold and abandoned place. More visual references from Monster Land and Books of Blood line the walls. Similar to classic horror movies, we built up final tension with flickering lights and an increasingly dissonant soundtrack.
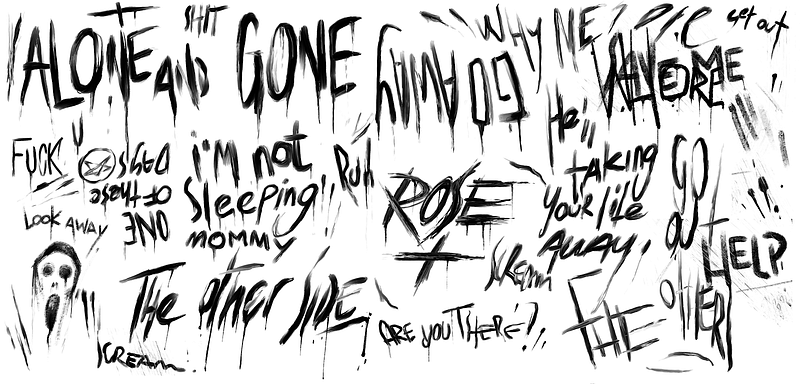
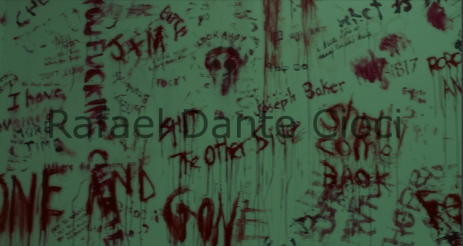
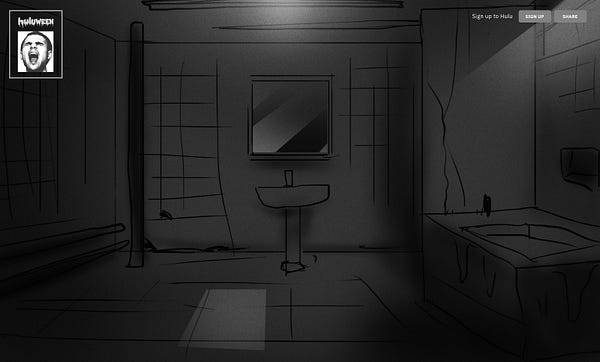
Bathroom — trailer / storyboard
We developed a low fidelity animatic of the full story to demonstrate the flow:
Our Development Approach
Cinema 4D Timeline
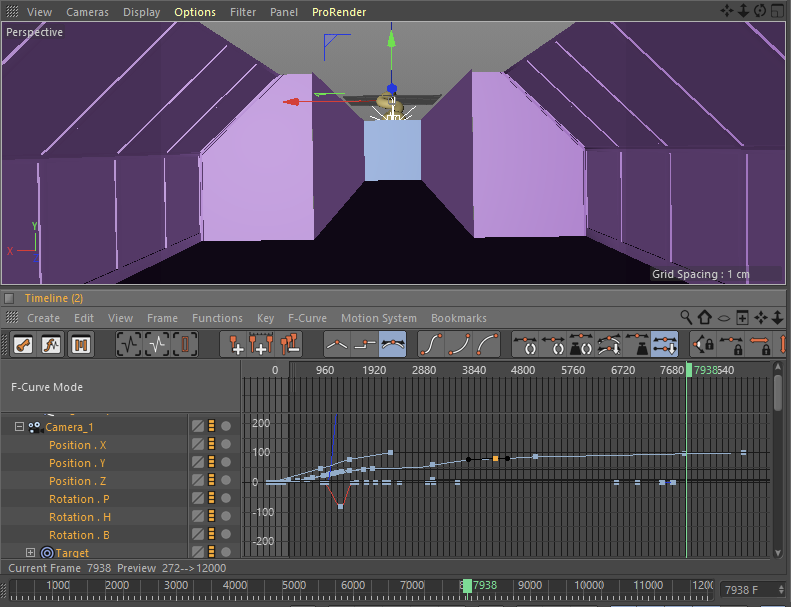
As with previous linear, story-based experiences we’ve created (The Frontier Within and Currents), we used Cinema 4D’s timeline tool to bring the haunted ride together. This allowed our artists to create the entire end-to-end experience, scrubbing the sequence in real time when needed.
This was huge for production under a tight timeline, and because what you see is what you get, it meant far less bugs were encountered than if we had to trigger animations entirely in code. With one or two lines of code, developers could expose elements within the scene to C4D, where artists could animate everything from position, rotation, and scale to every value on the shader.
Creating the Scenes
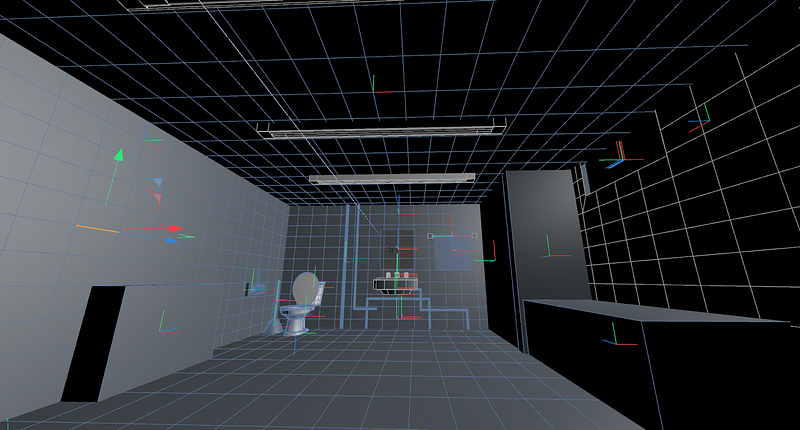
In order to make the 3D scenes feel more realistic, we aimed to match the colors, texture, and objects from Hulu’s content. We recreated all the assets in 3D and 2D using Cinema 4D, Octane, Substance Painter, and ZBrush.
Lighting the Experience
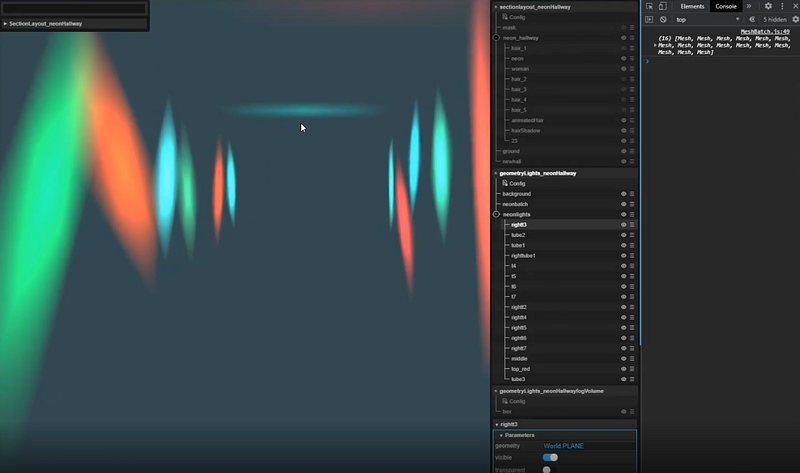
We’ve made Octane a core part of our 3D pipeline. Our artists use Octane to bake raytraced lighting into textures, so we can mimic how real light would bounce around the scene with a single texture sample in the shader.
Even with that pipeline, we wanted a way to be able to light the scene dynamically with flickering light sources such as neon tubes and candles. To achieve this we created a new pipeline we called Geometry Lights. In short, Geometry Lights allow us to combine a deferred and forward rendering pipeline to get the final image.
Data Encoding and Compression
One of the bottlenecks from the project was that all the scenes required a huge amount of textures to define the normal mapping, albedo, occlusion and roughness of each material for the elements in the environments. Too many textures would make the application spend too much time loading the required images, and consume too much GPU memory.
To overcome this issue, the different data from each material was encoded using two RGB textures with 8 bytes per channel. The first texture contained the information relative to the roughness in the red channel, the occlusion in the green channel and the metalness of the material in the blue channel. The second texture contained the grayscale color for each object, (since the scenes were generated in grayscale) and the other two channels were used to encode the X and Y values of the normal used for normal mapping. In that regard, the normal was defined with three values, but as tangent space the Z axis of the normal is always positive and the value of the normal is normalized, the value were reconstructed knowing the X and Y values of the normal and applying the formula Z = sqrt(X*X + Y*Y)
For the photo gallery scene, we encoded all the images on the wall in a single texture and all the videos into a single file; we also used a single mesh to render all the images and videos. The mesh utilized one set of UV values to define whether the corresponding section of the mesh would display an image or a video, and a second set to map the corresponding section of the image or video for display.
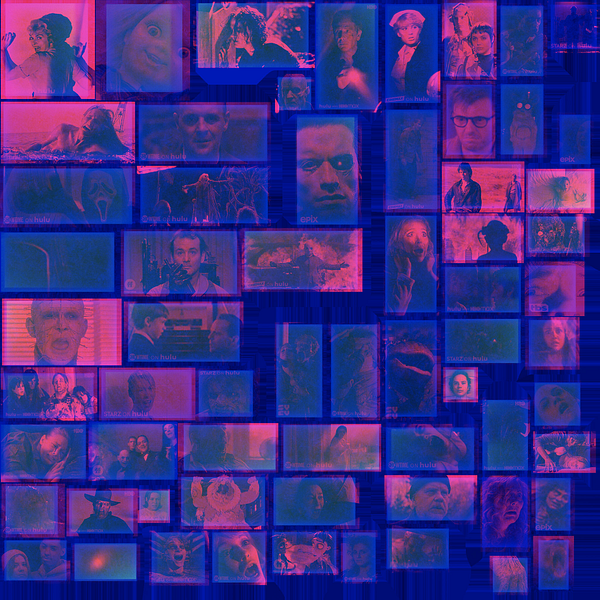
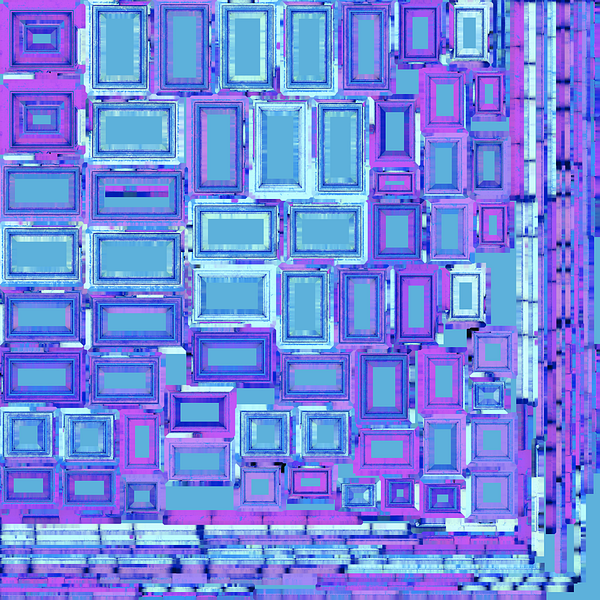
We used different color channels to store different data.
As a final step, all the textures with the encoded data were further optimised using texture compression systems suitable for webGL. In doing this, we had to be aware that texture compression can scramble the encoded data (since the algorithms for compressing rely on lossy compression techniques) — which would result in having the wrong information to implement the materials in the shaders. To overcome this, we tested if the normals and grayscale texture could provide a good visual results, and depending on the visual quality, the pipeline would allow the technical artists to decide if they would encode the normals and grayscale data, or work with separated compressed images.
All Screamed Out
Running for an exclusive period throughout Huluween, The Screamlands is unfortunately no longer accepting riders. For a glimpse at the experience — check out the capture here:
